How to organize renovation photos so you can find them later
· Editorial team miaminewsjoe.com
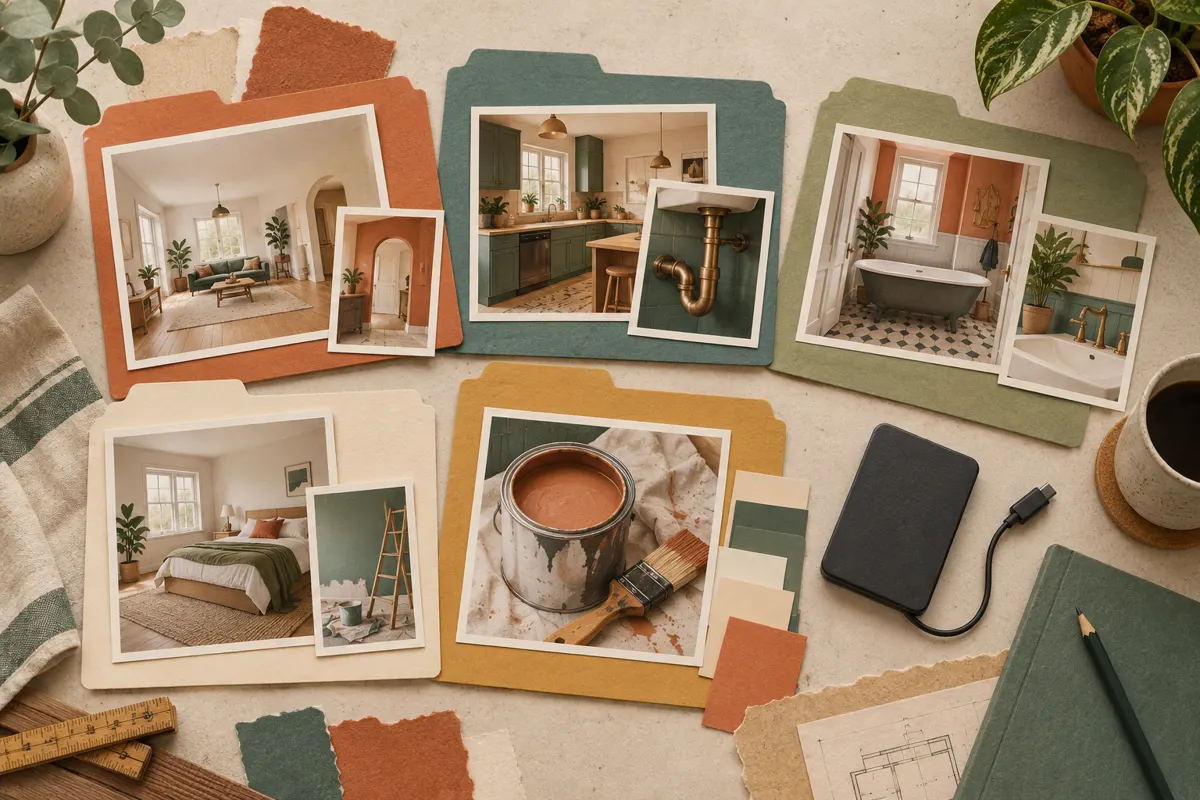
Keep renovation photos in one project folder, divide them by room and stage, and name useful images with the date, location, and subject. Save both wide views and close-ups, then keep a separate backup. The proposed system below gives you a practical way to find a pipe location, paint label, or finished detail without scrolling through your entire camera roll.
Create one home for each project
Start with a main folder named for the year and project, such as 2026-home-renovation. Inside it, create a folder for each room involved: kitchen, main-bathroom, laundry-room. Use names your household recognizes. If you have two bathrooms, choose a clear distinction and keep it consistent.
Grouping belongings by room and labeling them with their contents are organizing approaches described in the supplied renovation guides. As an editorial proposal, apply that same room-and-content logic to your photo folders.
- One main project folder for all renovation records.
- One folder per room, with a shared-areas folder for work spanning several rooms.
- An inbox folder for newly imported photos awaiting sorting.
- A documents folder for related receipts, manuals, and product information.
Choose one location as the main collection. If other people take pictures, have them send their originals there so useful records do not remain scattered across messages and devices.
Divide each room into project stages
Within each room, use the same numbered stage folders. Numbers make the intended sequence visible when folders are sorted by name. Keep the structure shallow enough that filing a picture takes only a few decisions.
- 01-before: the room before work begins, including existing damage.
- 02-open-walls: exposed framing, plumbing, wiring, and other details before they are covered.
- 03-installation: cabinets, fixtures, flooring, and work in progress.
- 04-finished: completed surfaces and overall room views.
- 05-products: labels, model numbers, finishes, and packaging details.
Put each original in the stage that best describes it. If an image also belongs in a favorites album, use that as an extra viewing aid while keeping its main folder location predictable. For a small project, skip stages you do not need.
Name photos with the words you will search
Use a consistent filename pattern: YYYY-MM-DD_room_subject_sequence. For example, 2026-08-14_kitchen_sink-wall-pipes_01.jpg tells you when and where the image was taken and what it shows. These dates and filenames are examples for the proposed system.
Describe the feature precisely. Main-bathroom_shower-valve is more useful than bathroom_detail. Add a location such as north-wall, under-sink, or doorway when several similar features appear in the room. Use the same term each time instead of switching between several names for one place.
- Check the capture date before renaming; do not substitute the import date accidentally.
- Move images into the appropriate room and stage folder.
- Give important reference shots descriptive names.
- Add sequence numbers when several images show the same subject.
You do not need to rename every progress picture. Prioritize images you expect to retrieve for maintenance, repairs, or matching materials.
Keep detail shots connected to their location
A close-up can be difficult to interpret months later. Pair it with a wider view showing the wall, cabinet, or doorway around it. Use matching subject names so the two pictures stay together when sorted.
- Exposed services before walls or ceilings are closed.
- Accessible shutoff locations and fixture connections.
- Paint labels showing the color, finish, and product.
- Tile packaging, flooring labels, and appliance model plates.
- Installation details and issues awaiting correction.
Keep a short room note when the picture needs explanation: which wall it shows, what changed afterward, or which product was selected. Treat exposed-wall photos as reference material; they do not establish that a later drilling location is safe.
Sort regularly and verify your backup
As a proposed routine, clear the inbox after each work session or once a week. Remove accidental shots and obvious duplicates, but preserve images showing different angles or stages. Keep original files for important details rather than relying only on screenshots or copies sent through messages.
Maintain a separate backup of the organized project folder, such as a copy on an external drive or a service with recoverable file history. Check how your chosen service handles deletions: synchronization can carry a deletion across devices.
Before removing phone copies, open several images from the main collection and backup. At project completion, try finding one concealed detail, one product label, and one finished view. If retrieval is awkward, adjust the names while the renovation is still fresh in your memory.